
A. Install Java #
-
The first step is install the latest version of the Java OpenJDK. The easiest way to do this is to get a pre-built binary from Adoptium, which you can download from https://adoptium.net/temurin/releases. You’ll want to select the latest version for Windows x64, and use the
.msiinstaller. At the time of this writing the latest version is marked with “jdk-17.0.3+7”, but if some later version of Java has been released at the time you’re reading this, you’re welcome to download that instead.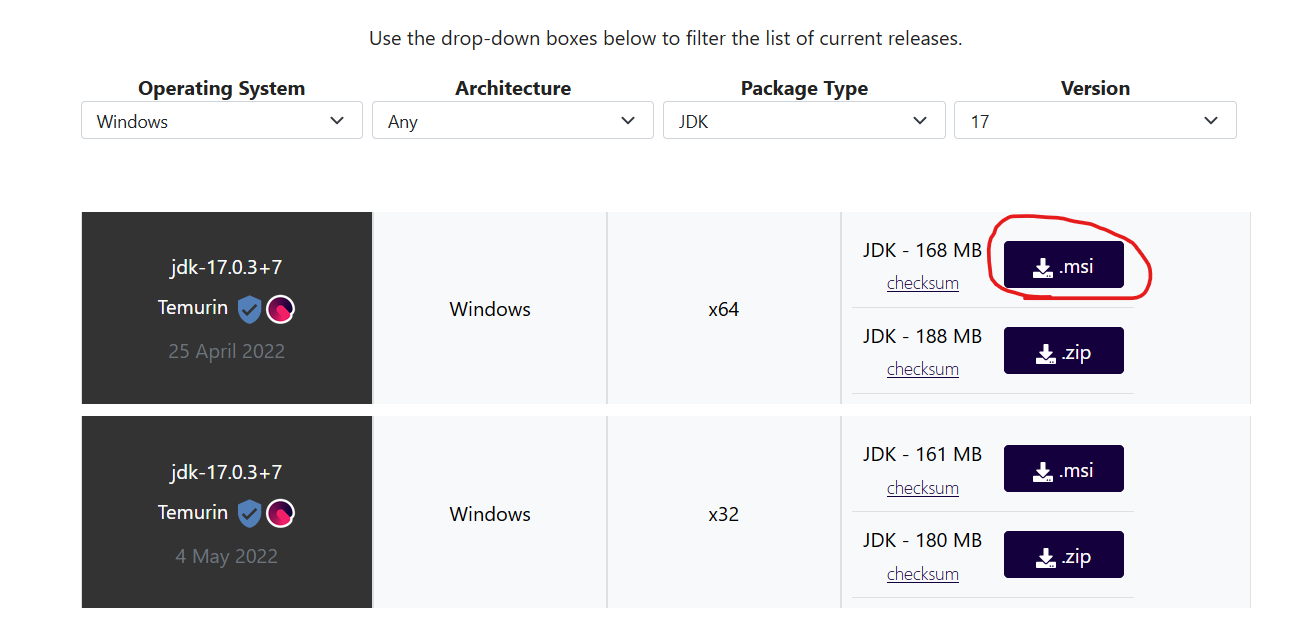
-
Important: The installer will give you the following four options:
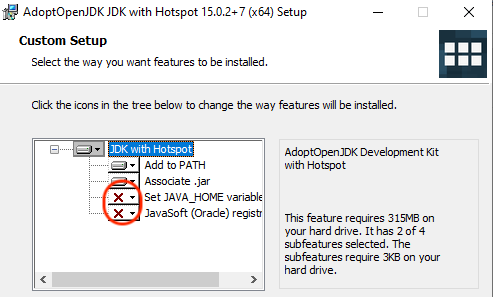
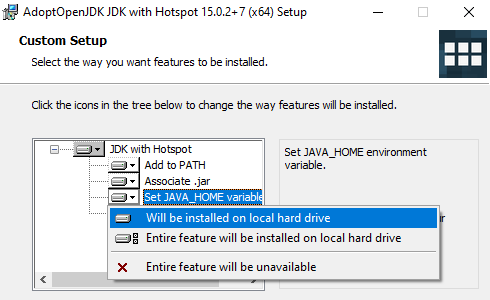
You should click the small red Xs and change it from “Entire feature will be unavailable” to “Will be installed on local hard drive” as shown below:
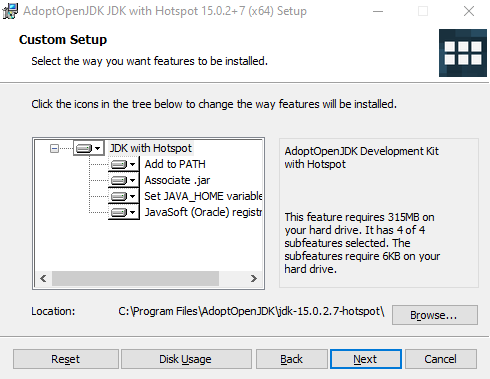
When you’ve done this, it should look like the following:
-
Click next until everything is installed.
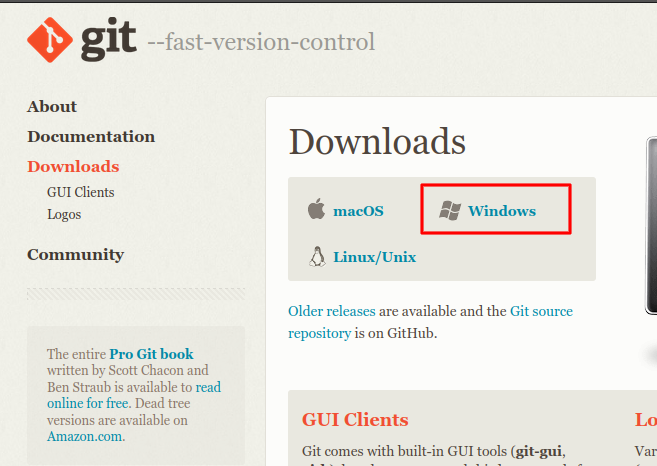
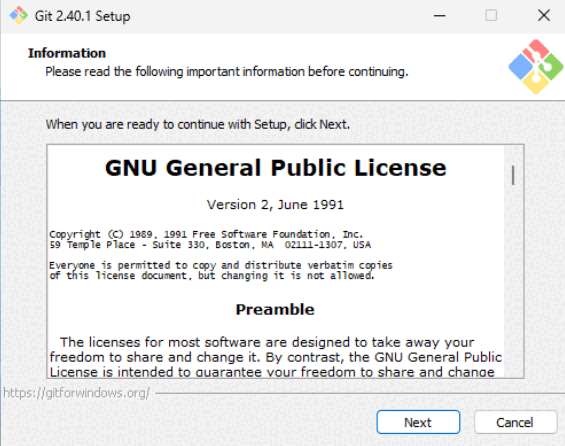
B. Install Git #
-
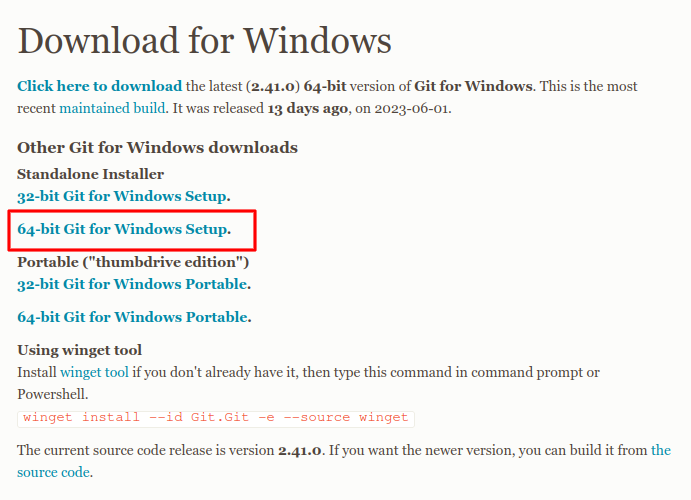
Install git. Head to http://git-scm.com/download/ and download the Git for Windows installer.
-
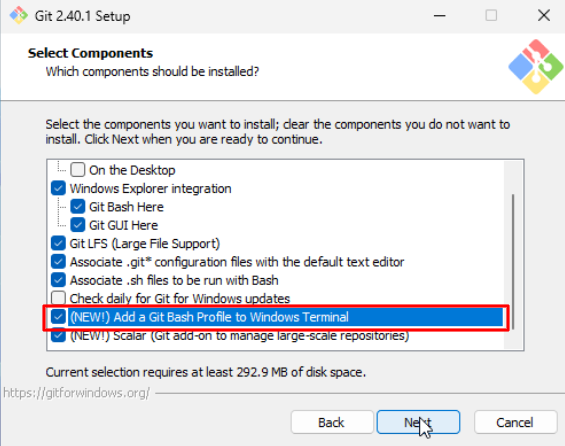
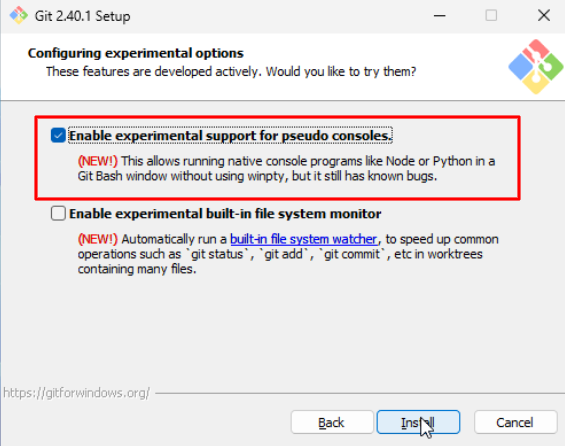
Run the installer. You’ll be faced with many options. We’ll only be selecting different options on:
-
The Select Components page, where we add a Git bash profile to the windows terminal.
-
The Configuring Experimental Options page, where we add support for native console programs.
-
-
All the other options should be left as is. The entire install process is shown in the gif below:
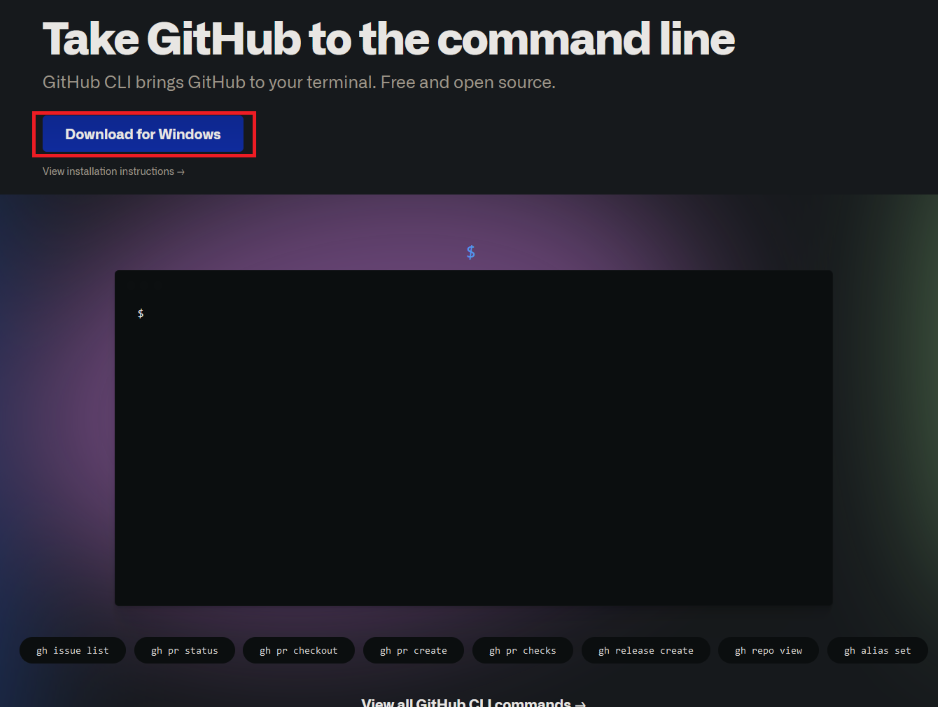
C. Install GitHub Cli #
We need to be able to login with our GitHub account from our terminal, in order to do that we install Github-Cli
-
First download the installer from https://cli.github.com/
-
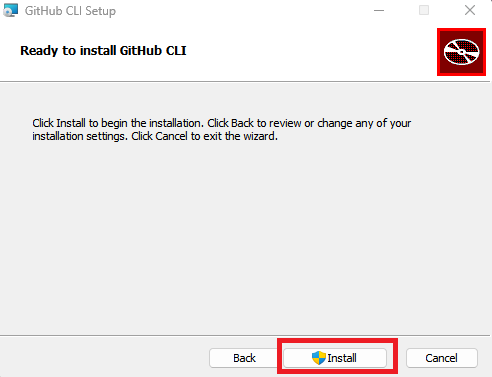
Run the installer (this one should be relatively straight forward) and you should be done!
D. Install Windows Terminal #
All recent versions of Windows 10 and 11 come with the Terminal app pre-installed. If you can find the app by searching for terminal in the start menu, you can move on to the next section.
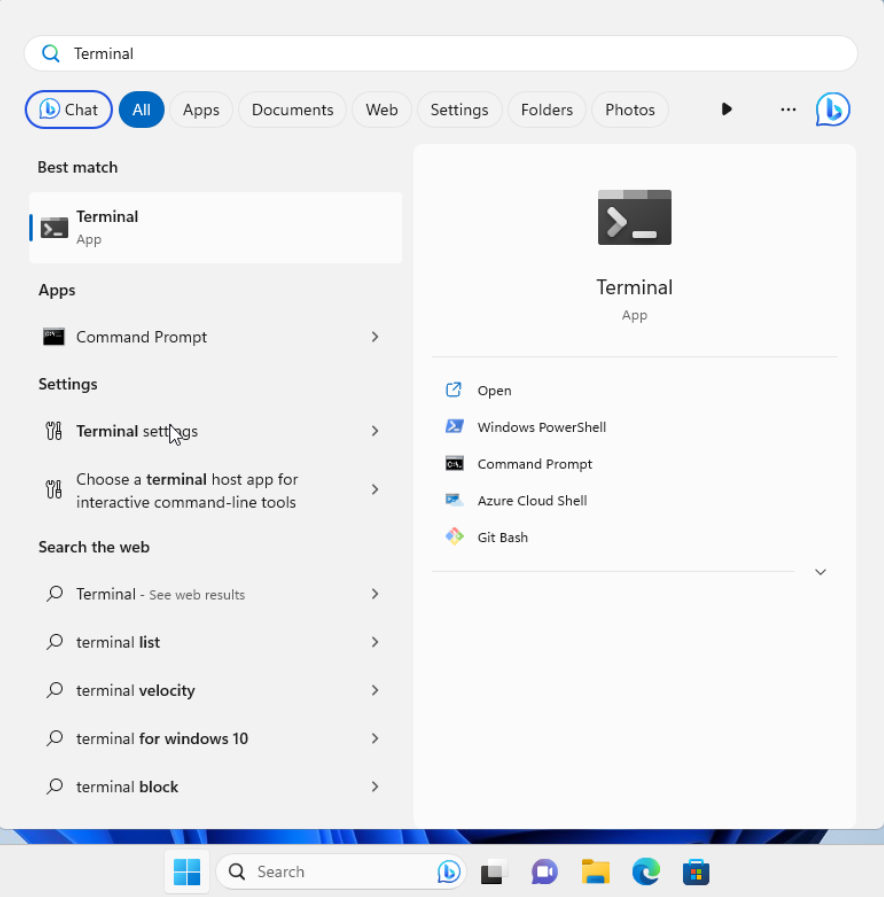
Note: we’re looking for the terminal app selected in the screenshot and not the command prompt.
If not we recommed you install the terminal app from the Microsoft Store, which does not require a login or payment. Alternate installation instructions are at https://github.com/microsoft/terminal.
E. Configure Windows Terminal #
When you start up windows terminal, you’ll see a powershell terminal prompt. We don’t want to use “PowerShell”, which is based on Windows. Instead, we want to use a “bash shell” (specifically, Git bash), which is based on Linux. To set this up:
-
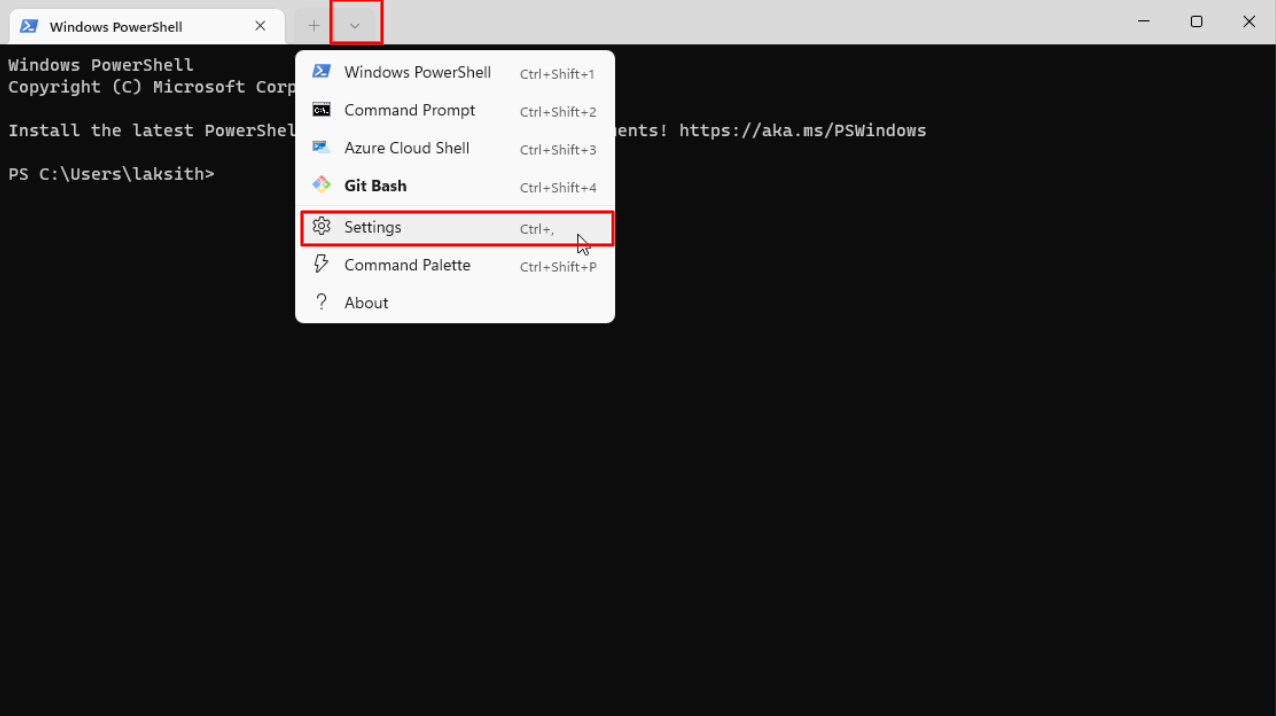
Click on the drop-down arrow next to the plus “+” sign at the top and open the settings page.
-
Set the default profile to Git bash, default terminal application to windows terminal and hit save.

-
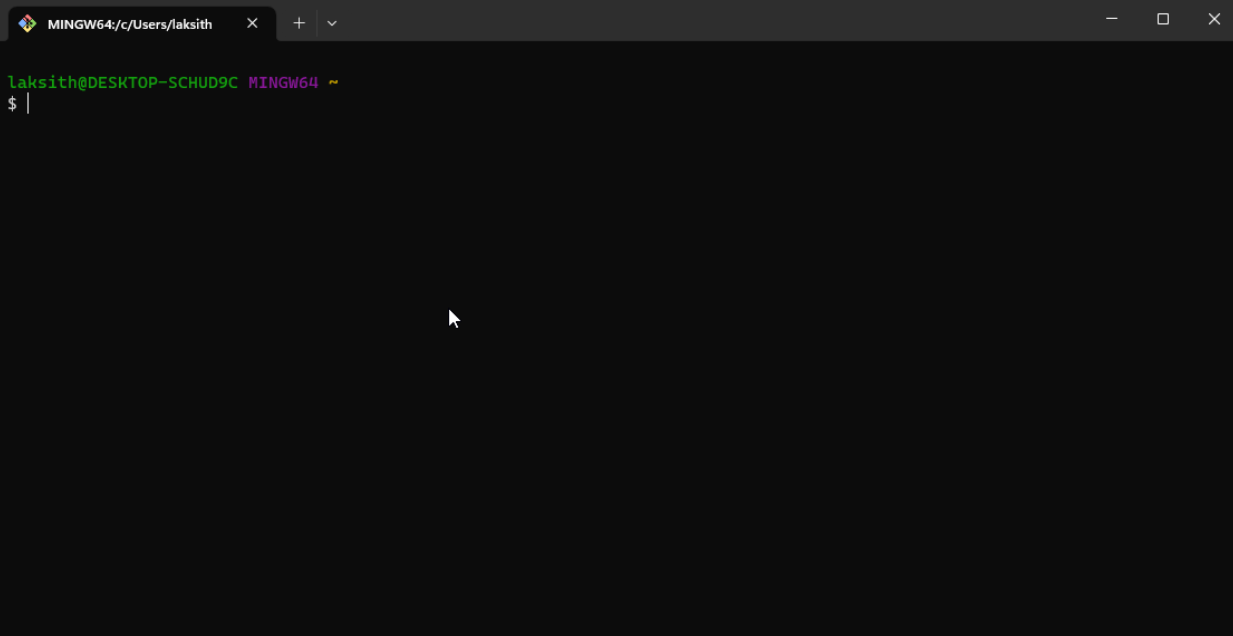
If you completed the previous steps correctly, when you click on the plus sign, you should see a Git Bash shell window open.
At this point, you’re all done! You can now move on with the rest of Lab 1.
F. Note on WSL2 (experimental) #
The Summer 2020 update of Windows contains a Linux kernel called WSL2. We will not be officially supporting WSL2 for this term. If you’re pretty computer savvy, you’re welcome to try it out though! One word of warning: You will need to install javac, java, and git inside WSL2 again, following the Linux instructions for your chosen distribution.